Table of Contents
ToggleIn a world where inboxes overflow with unwanted emails, knowing how to block an email sender on an iPhone can feel like discovering a hidden treasure. Whether it’s relentless spam or that one friend who insists on forwarding every chain mail, taking control of your inbox is essential for sanity.
Understanding Email Blocking on iPhone
Blocking email senders on an iPhone plays a crucial role in maintaining inbox organization. It allows users to eliminate clutter and manage their email experience effectively.
Importance of Blocking Unwanted Emails
Blocking unwanted emails enhances productivity and reduces distractions. Spam messages often clutter the inbox, making it difficult to find important communications. Each unwanted email can detract from focus, requiring time and effort to sift through. By blocking these senders, users reclaim control over their inbox, ensuring it remains streamlined. Productivity increases when distractions decrease, making it essential to address unwanted emails promptly.
Overview of Email Apps on iPhone
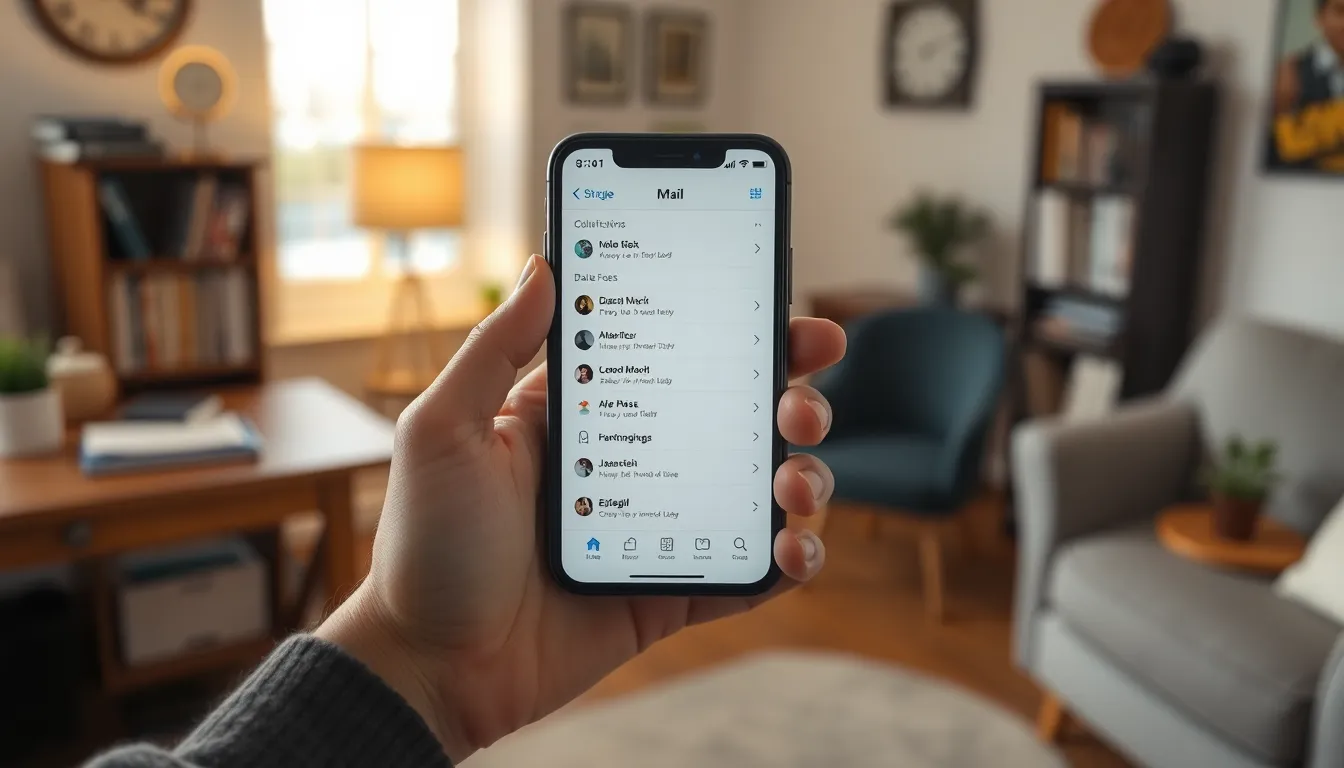
Various email apps enhance the iPhone’s email functionality. The default Mail app offers a user-friendly interface for managing multiple accounts seamlessly. For those seeking more features, alternatives like Outlook and Gmail provide advanced functionalities. Each app includes blocking options, facilitating user preferences for managing unwanted communications. The choice of the email app significantly influences how effectively users can filter messages and block unwanted senders. Using the right app ensures an optimal email experience aligned with user needs.
Steps to Block an Email Sender on iPhone

Blocking email senders on an iPhone helps maintain a clutter-free inbox. Follow these simple steps for effective management.
Using the Mail App
Open the Mail app and locate the email from the sender. Tap on the email to view its contents. Next, select the sender’s name or email address at the top. Choose “Block this Contact” from the menu that appears. Confirm the action by tapping “Block Contact.” This prevents future emails from that sender from cluttering the inbox, significantly improving email organization.
Using the Gmail App
Open the Gmail app and find the email from the unwanted sender. Tap on the email to open it fully. Click on the three vertical dots in the top right corner. Select “Block [Sender’s Name]” from the dropdown menu. Confirm the block so that all future emails from this sender go to the Spam folder, enhancing your email experience without distractions.
Managing Blocked Senders
Blocked senders on an iPhone help maintain a clean inbox. Users can efficiently manage the list of blocked contacts.
Viewing Blocked Senders List
Accessing the blocked senders list allows users to review unwanted contacts. By opening the Settings app, individuals can scroll to Mail, then find the “Blocked” option under the “Threading” section. Each blocked sender appears in a straightforward list format, enabling quick access. Users can identify senders that clutter their inbox and determine if any updates are necessary. Checking this list frequently helps maintain an organized email experience.
Unblocking an Email Sender
Unblocking an email sender is a simple process for users needing to restore contact. To unblock, users start by navigating to the Settings app and selecting Mail. Following this, individuals proceed to the “Blocked” section. Highlighting a specific sender offers an “Unblock” option. Tapping this option removes the sender from the list, allowing future emails to appear in the inbox again. This flexibility ensures users regain communication with senders if needed.
Tips for Dealing with Spam Emails
Managing spam emails enhances overall email experience. Identifying spam emails can significantly reduce inbox clutter.
Identifying Spam Emails
Recognizing spam emails is crucial for effective email management. Look for suspicious sender addresses that resemble legitimate ones. Examine subject lines for misleading content or excessive urgency. Email content often contains generic greetings, poor grammar, or unexpected requests. Furthermore, attachments from unknown sources raise red flags. Marking these emails as spam aids in filtering similar messages in the future.
Reporting Spam Emails
Reporting spam emails helps improve email security for everyone. Most email apps have dedicated options for flagging unwanted messages. In the Mail app, users can tap the “Report Junk” option to notify Apple. Gmail users can select “Report Spam” after opening the unwanted message. Reporting notifies the email provider and enhances their filtering systems. Taking these actions maintains a cleaner inbox and protects against phishing attempts.
Managing unwanted emails on an iPhone is essential for maintaining a productive and organized inbox. By blocking email senders, users can significantly reduce distractions and streamline their email experience. The steps outlined for both the Mail app and Gmail app make it easy to take control of unwanted communications.
Additionally, regularly reviewing the list of blocked senders ensures that users can adapt their email management strategies as needed. By identifying and reporting spam, they not only protect their own inbox but also contribute to a safer email environment for everyone. Embracing these practices leads to a more efficient email experience and allows users to focus on what truly matters.


